Your Ultimate Thin Brick Installation Guide
- - Category: Remodeling
- - 30 Mar, 2023
- - Views: 288
- Save

Get your thin brick installation right the first time with our thin brick installation guide!
Welcome to the world of thin brick installation! If you're reading this, chances are you're eager to learn everything there is to know about this unique and timeless building material. Perhaps you're a DIY enthusiast looking for a new challenge, or maybe you're a professional contractor seeking to expand your skill set. Regardless of your background, one thing is for sure: mastering the art of thin brick installation requires both knowledge and finesse. In this ultimate guide, we'll take a deep dive into the details of thin brick installation and explore everything from materials and tools to techniques and best practices. So buckle up and get ready to become a thin brick installation pro!
Thin Brick Installation Guide
Thin Brick Installation Guide: A Step-by-Step Process to Achieving a Timeless Look
Achieve a timeless look for your home with thin brick. Thin bricks are becoming increasingly popular due to their versatility, durability, and cost-efficiency. Whether you're planning to install it yourself or hiring professionals, proper installation is key to achieving a stunning finish that will last for years.
Before diving in, it's important to understand what thin brick is and why you should choose this material for your project. Thin bricks are made from clay or concrete materials cut into small pieces that resemble traditional bricks but are thinner in size.
To ensure the best results, choosing the right type of thin brick for your project is crucial. Consider factors such as color, texture, size, and pattern when making your selection.
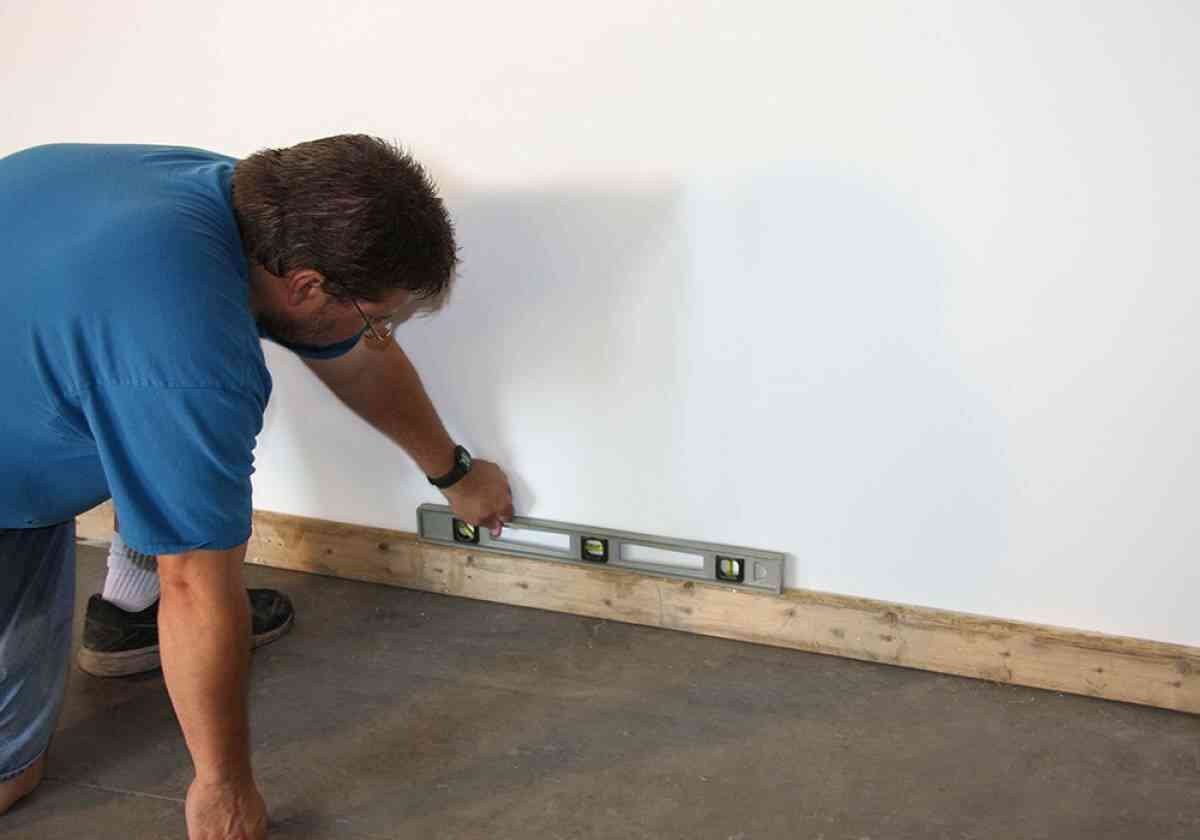
The preparation process before installing thin brick cannot be overstated. Essential steps include cleaning the surface thoroughly and ensuring it's leveled properly before applying adhesive.
Follow our step-by-step guide on how to install thin brick on walls efficiently while paying attention to common mistakes that can affect the final outcome of your installation.
Finally grouting and sealing complete the process by giving visual appeal while providing additional protection against moisture intrusion and staining commonly caused by spills or splashes.
What is Thin Brick and Why Should You Install It?
Thin brick is a popular choice for homeowners and designers looking to add a touch of rustic charm to their walls. But what exactly is thin brick? Thin brick is essentially a slimmed-down version of traditional brick, with a thickness ranging from 1/2" to 5/8". It's made from the same materials as regular brick, including clay and shale, but it's cut thinner to make it easier to install.
So why should you consider installing thin brick in your home or commercial space? For starters, thin brick is more affordable than traditional brick, making it an attractive option for those on a budget. It's also lightweight and easy to install, which means you can complete your project in less time. Thin brick comes in a variety of colors and styles, so you can easily find one that matches your design aesthetic. Plus, it's durable and long-lasting, so you won't have to worry about frequent repairs or replacements.
Choosing the Right Thin Brick for Your Project
When choosing the right thin brick for your project, there are a few important factors to consider. First, color is a crucial aspect as it will determine the overall look and feel of your wall. Consider the color scheme of your space and choose a thin brick that complements it. Second, texture is also important as it can add depth and interest to your wall. Some thin bricks have a smooth finish while others have a more rustic, textured look. Finally, consider the size of the thin brick. Standard sizes are 2 1/4" x 7 5/8" or 3 5/8" x 7 5/8", but there are also larger and smaller options available. Keep in mind that larger bricks may require more cutting during installation, while smaller bricks may take longer to install due to their size. By considering these factors, you can choose the perfect thin brick for your project and achieve the desired look for your space.
Preparing Your Surface: Essential Steps Before Installing Thin Brick
Before installing thin brick, it is essential to prepare the surface properly. First, clean the wall thoroughly to make sure there are no bumps or uneven surfaces that can affect the installation process.
Secondly, check if your surface is suitable for thin brick installation by ensuring it's sturdy and able to hold the weight of each unit without collapsing. It's recommended to use moisture-resistant materials such as cement boards as they provide excellent support and prevent humidity from penetrating under the bricks.
After preparing your surface, you'll need measurements to determine how many bricks you need for your project. Always purchase extra units in case of breakage or mistakes during cutting.
Next on our list is selecting an adhesive suitable for thin brick installation. Apply enough mortar onto one area at a time while smoothing out excesses with a trowel before placing each unit firmly into place.
Using spacers will ensure uniform gaps between each brick while avoiding lippages along edges - This helps achieve professional-looking results that add value to any construction project when completed correctly.
The Step-by-Step Guide to Installing Thin Brick on Walls
Applying Mortar and Installing Thin Bricks on Walls
After preparing the wall surface, it's time to apply mortar and install thin bricks. Start by mixing a small amount of thin-set mortar according to the manufacturer's instructions. Apply a layer of mortar onto the wall using a trowel or notched spreader, making sure to cover an area that you can work on within 10-15 minutes.
Next, place the thin brick onto the mortar bed, pressing it firmly into place with your hands. Use spacers between each brick to maintain even spacing for grout lines. Continue this process until you've covered all areas where you want to install thin brick.
After installing all bricks in one section, use a level to check if they are straight and adjust as necessary before moving on to another section. Let the mortar dry completely before removing spacers and adding grout between joints in the following step.
Grouting and Cleaning Up Afterwards
Once your thin brick installation is complete, it's time to grout. Mix the grout according to the manufacturer's instructions and apply it using a grout bag or float. Be sure to fill all the gaps between the bricks, wiping away any excess with a damp sponge. Let the grout dry for at least 24 hours before sealing.
After the grout has dried, use a stiff-bristled brush to remove any remaining haze on the bricks. You can also use a solution of water and vinegar to clean any stubborn spots. Once your wall is clean, apply a sealer to protect your thin brick from moisture and stains.
Remember, proper installation and maintenance are key to keeping your thin brick wall looking beautiful for years to come.
Finishing Touches: Sealing the thin brick wall
After grouting your thin brick wall, it's important to seal it to protect it from moisture and stains. Start by letting the grout dry completely, which usually takes about 24 hours. Then, use a high-quality sealer specifically designed for thin brick. Apply the sealer evenly with a brush or roller, making sure to cover all surfaces of the bricks and grout lines. Let the sealer dry completely before applying a second coat. Depending on the sealer you choose, you may need to reapply it every few years to maintain its effectiveness. Sealing your thin brick wall will not only protect it but also enhance its color and texture.
Finishing Touches: Grouting and Sealing Your Thin Brick Installation
After the thin brick installation is complete, grouting and sealing your wall is essential to ensure it lasts for years. Begin by mixing your grout according to instructions on the package. Use a trowel to spread the grout over the surface of your bricks, pressing firmly into any gaps between them. Once fully covered, remove excess with a damp sponge or cloth before allowing it to dry completely.
After drying, use a soft-bristled brush or broom to sweep away any remaining residue from the surface of your wall. Finally, apply a coat of sealant using either a brush or sprayer making sure every inch of brick is covered evenly. Leave enough time for this layer to dry properly before applying another coat if needed.
It's important not to rush through these finishing touches as they can make all the difference in achieving that polished final result you're after!
Common Mistakes to Avoid When Installing Thin Brick
Installing thin brick may seem like a straightforward process, but there are some common mistakes that can be easily avoided. One of the most important things to keep in mind is to properly prepare your surface before installing the thin brick. Failing to do so can result in an uneven and unstable installation.
Another mistake to avoid is not using enough mortar when laying the bricks. This can cause the bricks to shift or even fall off the wall over time. It's important to use enough mortar to ensure a strong and secure installation.
Additionally, it's important to take your time when cutting the bricks to fit around corners or other obstacles. Rushing this step can result in poorly cut bricks that don't fit properly and create an unprofessional look.
Lastly, not sealing your thin brick installation can lead to damage from moisture and other environmental factors. Be sure to properly seal your installation after grouting to protect it for years to come.
Maintenance Tips for Keeping Your Thin Brick Wall Looking New
Maintaining your thin brick installation guide is crucial to keeping it looking new for years to come. Regular cleaning is essential, as dirt and debris can accumulate between the bricks and cause discoloration over time. Use a soft-bristled brush or low-pressure washer when cleaning your thin brick wall. Avoid using harsh chemicals, as they can damage the surface of the bricks.
Checking for cracks in the mortar joints is also important, as they can allow water to seep behind the bricks and cause damage. If you notice any cracks, apply fresh mortar with a small trowel or joint tool.
Lastly, consider applying a sealant to your thin brick wall every few years to protect it from moisture and stains. Be sure to choose a product specifically designed for use on thin brick surfaces.
By following these maintenance tips, you'll ensure that your thin brick installation looks great for many years after its initial installation.
In conclusion, installing thin brick can be a great way to add a touch of rustic charm to any space. With the right preparation and attention to detail, you can create a beautiful and durable brick wall that will last for years to come. By following the steps outlined in this ultimate thin brick installation guide, you'll be well on your way to completing your project with confidence and ease. Remember to choose the right type of thin brick for your needs, properly prepare your surface, and take care when installing and finishing your wall. With these tips in mind, you'll be able to avoid common mistakes and keep your thin brick looking new for years to come. Happy building!

